




Kingfisher Watercolour Painting Set – Demonstration & Tips
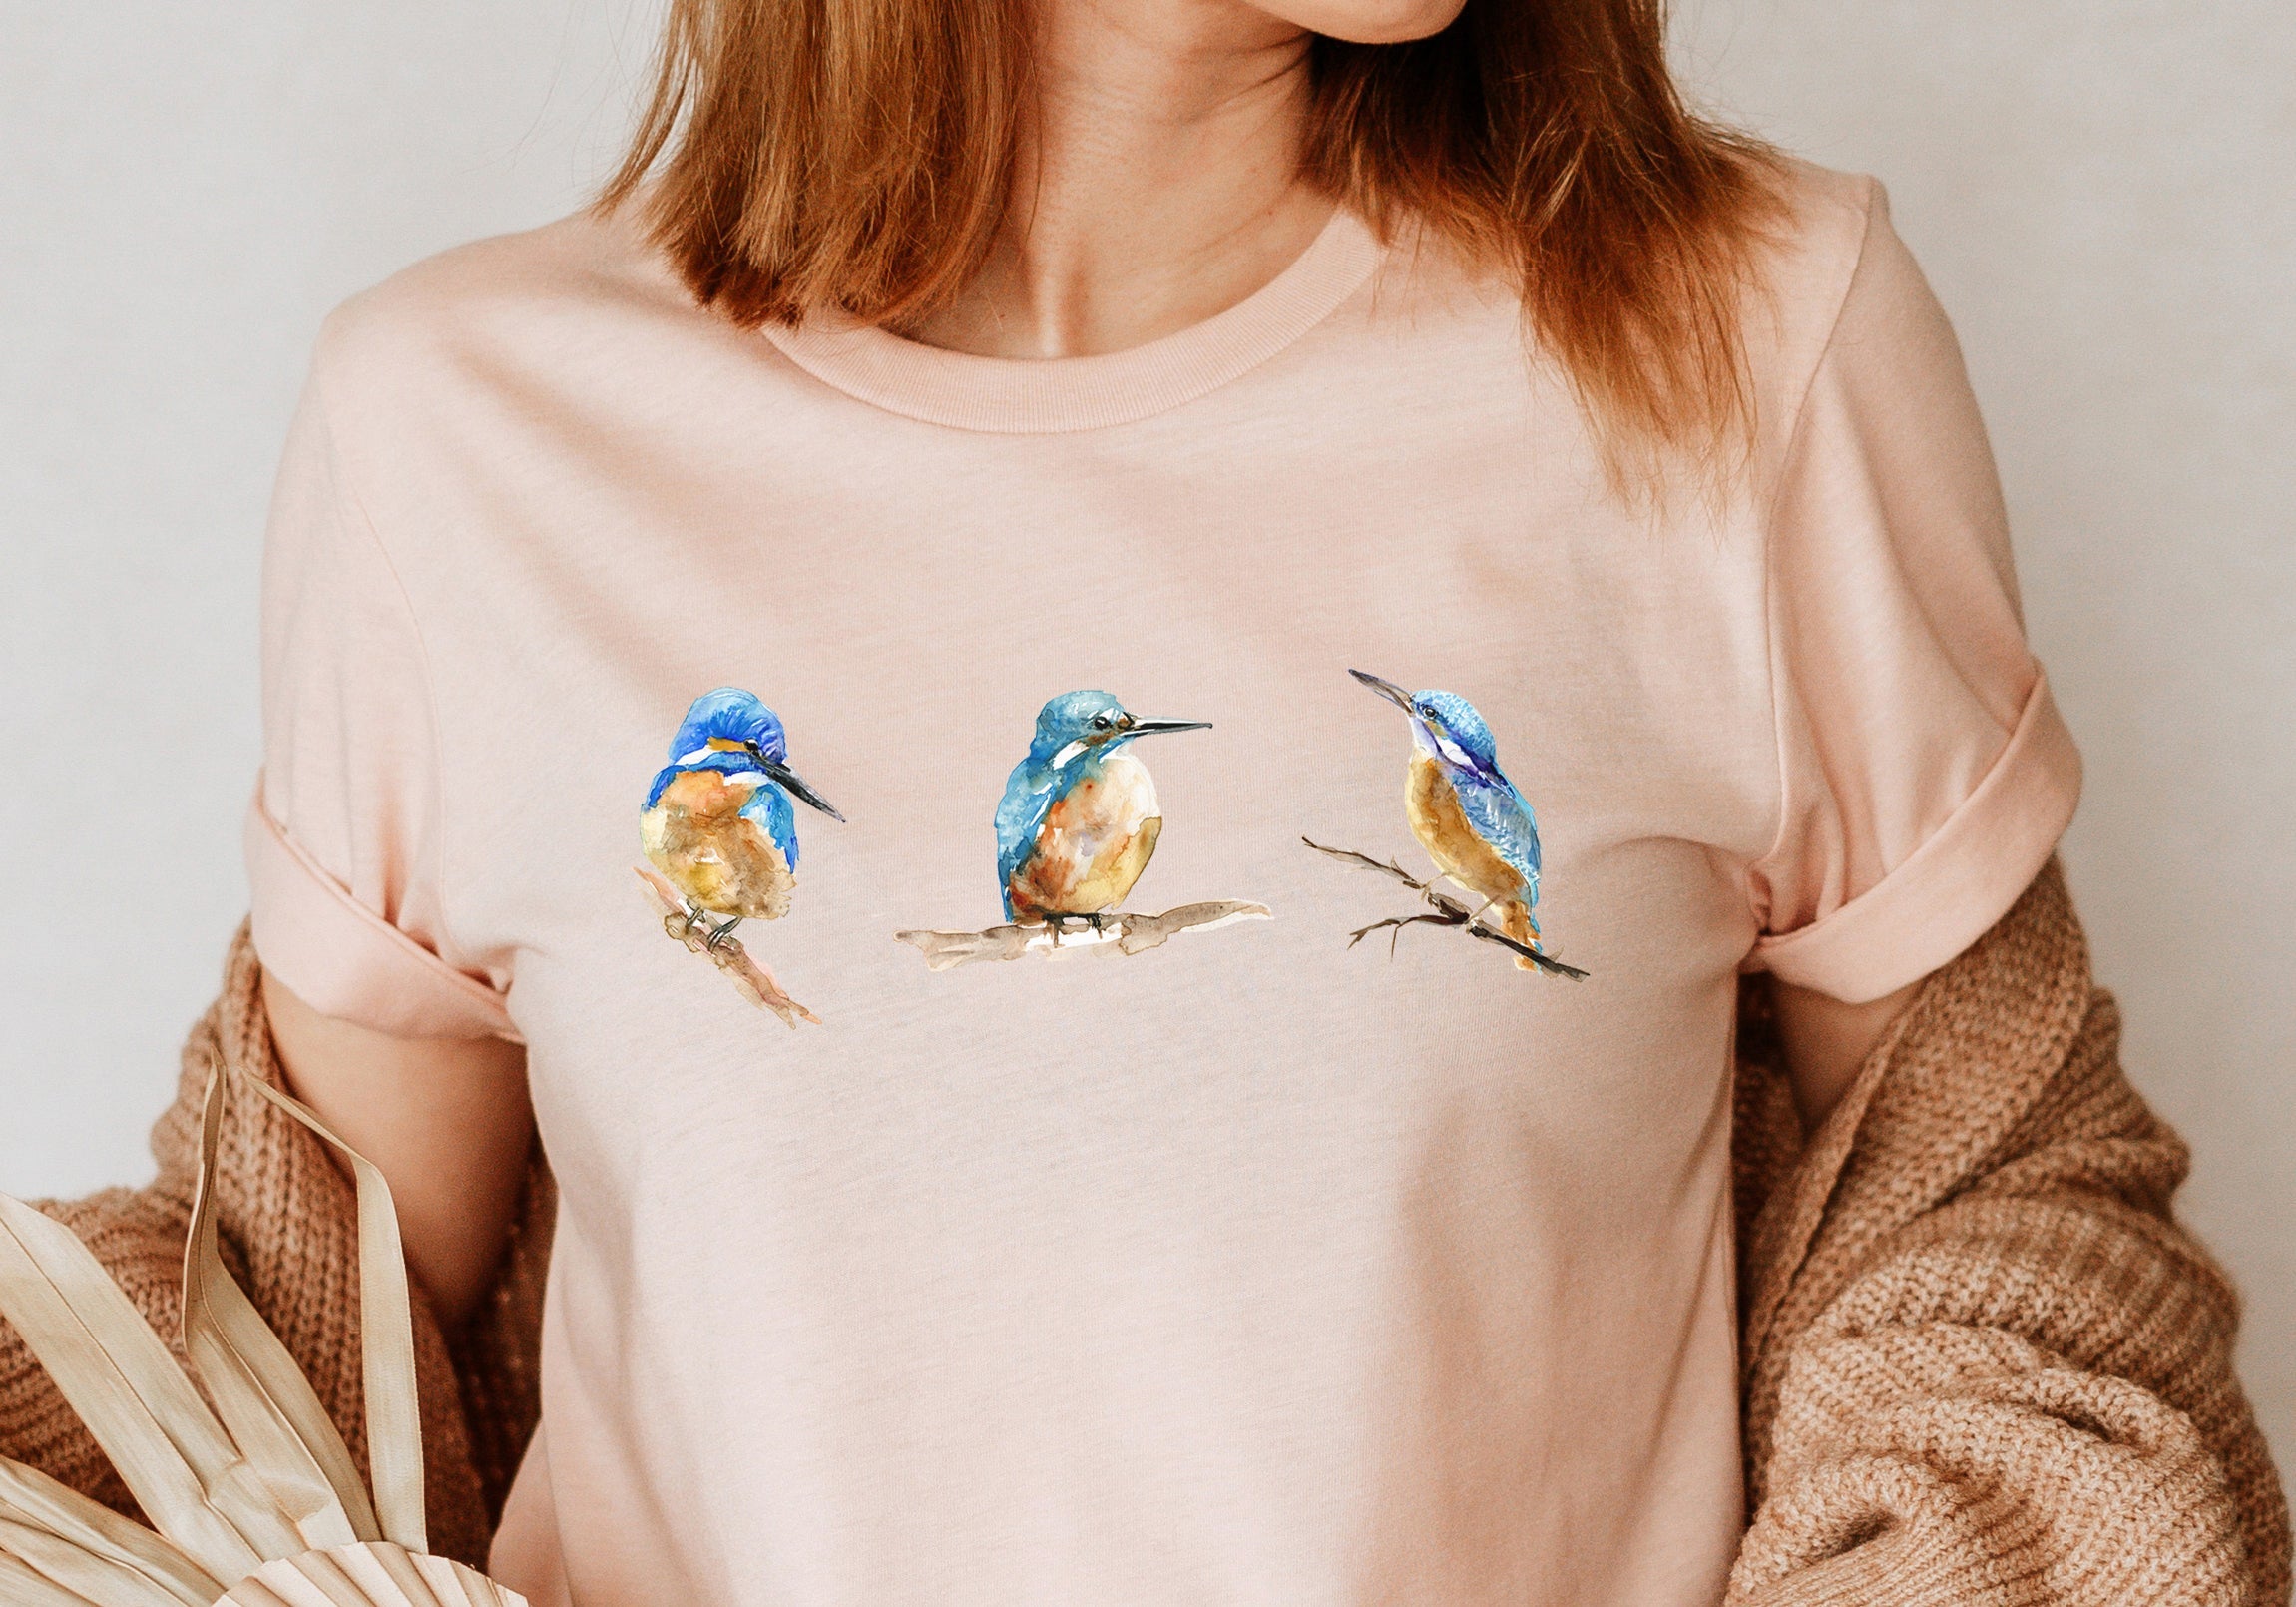
In my previous blog post, I showed all the products from my new kingfisher collection at Trekpleister. In this post, I’m taking a closer look at the three watercolour painting sets from the collection and, in the video below, I’ll show you how I painted one of the kingfisher designs myself.
The watercolour painting sets
There are three different painting sets available: two featuring kingfishers and one with cherry blossoms. You can use the sets to get acquainted with watercolour painting, to practise, or simply to give watercolours a try. The sets are available at Trekpleister and Kruidvat.
Each set contains a pre-printed, water-resistant painting board with the outlines of the design, 10 watercolour paints, two brushes, instructions and a hanging hook.
Before you start, I would also have a few extra things ready: a white plastic painting palette or simply a white saucer for mixing colours, a few containers of clean water and a piece of kitchen or toilet paper. The paper is useful for dabbing away excess water or paint, correcting small mistakes or softening a colour.
How I painted my kingfishers
I painted one of the kingfisher designs myself and recorded the entire process. In the video below, you can see how I mix and build up the colours, while I share various tips and explanations along the way.
The video is in Dutch, but even if you don’t speak Dutch, you can still follow the painting process visually. I have also written out the most important tips in English below.
Most importantly, remember that this is simply my way of painting and certainly not the only way. Watercolour gives you plenty of freedom to experiment. Use different colours, make them lighter or darker, let colours flow into one another or move away from my example altogether. Paint it in whatever way feels right to you.
A few tips for painting
Keep your colours clean
Rinse your brush thoroughly before picking up a new colour. If there is still paint from another colour in your brush, it will end up in the paint pan and can gradually muddy the original colour. Having several containers of clean water nearby makes it easier to keep your brush clean while you paint.
Mix your own colours
You don’t have to limit yourself to the ten colours in the set exactly as they are. Mixing them together will give you many more shades and often more natural-looking colours. Adding a tiny amount of brown to a bright colour, for example, can make it softer and less intense. Mix your colours on a white palette or saucer first, so you can clearly see the shade you have created.
Look at real kingfishers
If you would like to paint your kingfishers somewhat true to nature, have a look at photos or videos of real kingfishers. Their feathers are not simply ‘blue’, but contain all kinds of shades ranging from bright blue and turquoise to blue-green and much darker tones. You certainly don’t have to copy these exactly, but they can provide inspiration when mixing your colours.
Experiment with water
The amount of water you use has a big influence on the result. With wet paint on a dry surface -wet-on-dry-you have more control and shapes and lines remain more defined. If you wet the surface first and then add paint -wet-on-wet- the colours can flow into one another much more freely. Try both techniques and see which effects you like.
Most of all, make it your own painting
Let yourself be guided by your own feeling, taste and intuition. It doesn’t have to become a copy of my example, and it certainly doesn’t have to be perfect. In the end, it’s not only about the finished result, but above all about enjoying the process of painting itself.
Show me your result
I would love to see what you create! If you paint one of the painting boards, you are always welcome to email me a photo of the finished result. I may share some of your paintings (with your permission, of course) on my social media or in a future newsletter.